The kitchen window was cracked open just enough to let in the summer breeze, carrying with it the sweet perfume of cherry blossoms from the neighbor’s tree. I remember standing at my grandmother’s counter, flour dusting my small hands as she taught me the ancient art of pie-making. “Patience, little one,” she’d say, watching me rush through the dough. “Good things take time.” Years later, when life became too busy for rolling pins and lattice work, I discovered these cherry pie bars – all the soul of her beloved cherry pie, but forgiving enough for a Tuesday evening when dinner still needed making and homework required checking.
There’s something deeply satisfying about transforming a towering stack of fresh cherries into something that captures their essence in a single, perfect bite. These bars carry the spirit of summer picnics and county fair competitions, where the best desserts always seemed to disappear first. The way the tart cherries burst against the sweet, buttery base creates a symphony of flavors that speaks to something primal about comfort food. I’ve watched children and grandparents alike close their eyes on that first taste, transported momentarily to their own kitchen memories.
What makes these cherry pie bars extraordinary isn’t just their taste – it’s their generous nature. Unlike traditional pie that demands careful slicing and serving, these bars invite casual enjoyment. They’re equally at home on a fancy dessert table or wrapped in parchment for a hiking snack. The beauty lies in their structured layers: a sturdy shortbread foundation that won’t crumble in your hands, a vibrant cherry filling that tastes like concentrated summer, and a delicate crumb topping that adds textural intrigue to every bite.
The magic happens in the balance between sweet and tart, soft and crisp. Fresh cherries provide natural acidity that cuts through the rich butter and sugar, while the oat-studded topping offers a satisfying contrast to the smooth filling. These bars embody everything wonderful about American comfort baking – familiar flavors elevated through careful technique and quality ingredients.
Table of Contents
Ingredients
For the shortbread base:
- 2 cups all-purpose flour
- 1/2 cup powdered sugar
- 1/2 teaspoon salt
- 1 cup unsalted butter, cold and cubed
For the cherry filling:
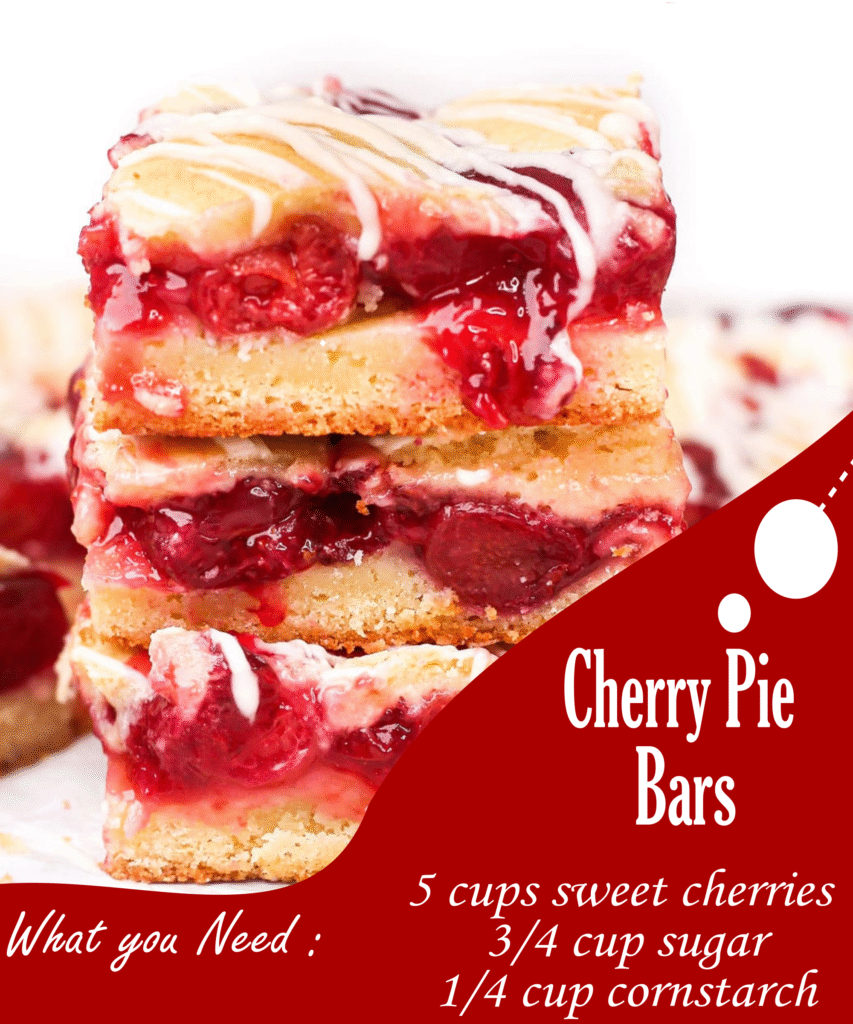
- 5 cups fresh sweet cherries, pitted and halved
- 3/4 cup granulated sugar
- 1/4 cup cornstarch
- 1 tablespoon fresh lemon juice
- 1 teaspoon vanilla extract
- 1/4 teaspoon almond extract
For the crumb topping:
- 1 cup old-fashioned oats
- 3/4 cup all-purpose flour
- 1/2 cup brown sugar, packed
- 1/2 teaspoon cinnamon
- 1/4 teaspoon salt
- 6 tablespoons unsalted butter, melted
Begin by preheating your oven to 375 degrees and lining a 9×13 inch baking pan with parchment paper, leaving some overhang for easy removal later. This simple step will save you countless frustrations when it’s time to cut and serve these beauties.
The foundation starts with creating the shortbread base, and here’s where patience becomes your greatest ally. In a large bowl, whisk together the flour, powdered sugar, and salt until no lumps remain. Add the cold, cubed butter and work it in with your fingertips or a pastry cutter until the mixture resembles coarse sand with some pea-sized butter pieces still visible. This texture matters more than you might think – those tiny butter pieces will create pockets of flakiness as they melt during baking.
Press this mixture firmly and evenly into your prepared pan, using the bottom of a measuring cup to achieve an even surface. The key here is firmness without overworking. You want a cohesive layer that will hold up under the weight of the filling but won’t become tough from overmixing. Bake this base for 15-18 minutes until the edges just begin to turn golden. The center should look set but still pale.
While the base bakes, prepare the star of the show: the cherry filling. In a large bowl, gently toss the halved cherries with granulated sugar, cornstarch, lemon juice, vanilla, and almond extract. The cornstarch might seem like a small detail, but it’s what transforms the cherry juices into a glossy, spoon-able consistency rather than a runny mess. The combination of vanilla and almond extracts enhances the natural cherry flavor without overwhelming it – think of them as supporting actors in this culinary production.
Let this mixture sit while you prepare the crumb topping. The cherries will begin releasing their juices, creating a beautiful ruby pool that the cornstarch will later thicken into perfection. For the topping, combine oats, flour, brown sugar, cinnamon, and salt in another bowl. Drizzle in the melted butter and stir until the mixture forms moist clumps that hold together when squeezed. This topping should look like the most beautiful granola you’ve ever seen.
Remove the partially baked base from the oven and spread the cherry mixture evenly across the surface. Don’t worry if some juice pools in corners – this will redistribute as it bakes. Sprinkle the crumb topping over the cherries, covering them as completely as possible. Some cherries peeking through is perfectly fine and actually quite charming.
Return to the oven and bake for 30-35 minutes until the topping is golden brown and you can see the cherry filling bubbling around the edges. The aroma that fills your kitchen during this final stage is nothing short of intoxicating – sweet, tart, and buttery all at once. Resist the urge to cut into them immediately, though I understand the temptation completely.
The cooling process is crucial for achieving clean slices that hold their shape. Allow the bars to cool completely in the pan, which takes about 2-3 hours. This waiting period allows the filling to set properly and the flavors to meld into something greater than their individual parts. I often make these in the evening and let them cool overnight, waking to the promise of perfect breakfast bars or afternoon treats.
When ready to serve, use the parchment overhang to lift the entire slab from the pan onto a cutting board. A sharp knife dipped in warm water between cuts will give you the cleanest slices. The first cut is always the most revealing – you’ll see distinct layers that tell the story of your careful construction.
Chef’s Notes
These bars keep beautifully at room temperature for up to three days, covered loosely with plastic wrap. For longer storage, wrap individual bars in parchment and freeze for up to three months. The beauty of this recipe lies in its adaptability – substitute blueberries, raspberries, or even diced apples for seasonal variations. If fresh cherries aren’t available, frozen cherries work wonderfully; just don’t thaw them first, and add an extra five minutes to the baking time.
Servings: 24 bars
Total Time: 4 hours (including cooling time)
Active Time: 30 minutes