The first time I encountered a proper Danish pastry wasn’t in Copenhagen, but in my grandmother’s cluttered kitchen on a snow-dusted February morning. She stood at her worn wooden counter, flour dusting her apron like powdered sugar, carefully folding layers of butter into yeasted dough with the patience of someone who understood that the most beautiful things require time. The scent of almonds toasting in her ancient oven mingled with the warm yeast fragrance that seemed to live permanently in her kitchen walls. Years later, when I finally tasted authentic Danish pastries in a small bakery overlooking the harbor in Nyhavn, that same intoxicating combination of buttery pastry and sweet almond filling transported me right back to her kitchen. These almond mascarpone Danish pastries honor that memory while adding my own signature touch – creamy mascarpone that melts into the traditional almond paste, creating layers of flavor as complex and delicate as the pastry itself. Every bite carries the whisper of tradition with a gentle nod to modern indulgence.
What makes these Danish pastries extraordinary isn’t just their flaky, golden exterior or the rich almond mascarpone filling that pools in tender pockets throughout each layer. It’s the way they transform your kitchen into a European bakery, filling every corner with the kind of aroma that makes neighbors lean over fences to investigate. The laminated dough creates impossibly tender layers that shatter at first bite, giving way to a filling that’s both familiar and surprisingly elegant. These aren’t your grocery store Danish – they’re an experience that rewards patience with pure pastry perfection.
Table of Contents
Ingredients
For the Danish Dough:
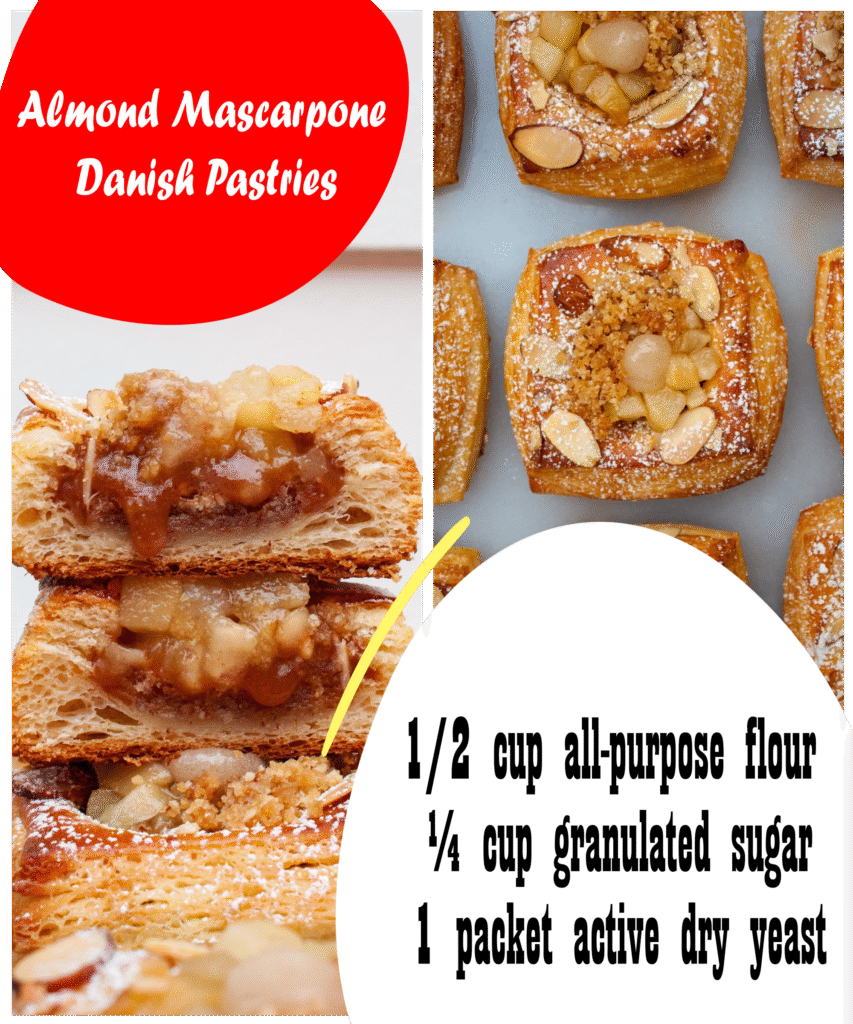
- 2¼ cups all-purpose flour
- ¼ cup granulated sugar
- 1 teaspoon salt
- 1 packet (2¼ teaspoons) active dry yeast
- ⅓ cup warm milk (110°F)
- 1 large egg
- 2 tablespoons unsalted butter, softened
- ¾ cup cold unsalted butter (for lamination)
For the Almond Mascarpone Filling:
- 8 oz mascarpone cheese, room temperature
- ½ cup almond paste
- ¼ cup powdered sugar
- 1 large egg yolk
- 1 teaspoon pure vanilla extract
- ¼ teaspoon almond extract
For Assembly and Finishing:
- 1 egg beaten with 1 tablespoon milk (egg wash)
- ⅓ cup sliced almonds
- Pearl sugar for sprinkling (optional)
Instructions
The magic begins with creating a dough that will become your canvas. In a small bowl, dissolve the yeast in warm milk – it should feel like a comfortable bath against your wrist. Watch for those first enthusiastic bubbles that signal your yeast is alive and ready to work. In a large mixing bowl, whisk together flour, sugar, and salt, creating tiny wells that will cradle the wet ingredients. Pour in the yeast mixture, add the egg and softened butter, then mix until a shaggy dough forms. This initial mixing isn’t about perfection – you’re simply introducing the ingredients to each other.
Turn the dough onto a lightly floured surface and knead for about eight minutes until it transforms from sticky and uncooperative to smooth and elastic. The dough will tell you when it’s ready – it will spring back when gently poked and feel supple under your hands, like well-loved leather. Wrap it tightly in plastic wrap and refrigerate for at least two hours, though overnight is even better. This rest allows the gluten to relax and the flavors to deepen, setting the stage for successful lamination.
While your dough chills, prepare the butter block that will create those coveted flaky layers. Place the cold butter between two sheets of parchment paper and pound it with a rolling pin until it becomes pliable but still cold. Shape it into a neat rectangle about 6 by 4 inches. This step is crucial – the butter must be the same consistency as your chilled dough to laminate properly without tearing or melting.
Remove the dough from refrigeration and roll it into a rectangle twice the length of your butter block. Place the butter in the center and fold the dough over it like an envelope, sealing the edges carefully. Now begins the lamination process that separates amateur pastries from professional ones. Roll the dough into a long rectangle, fold it into thirds like a business letter, wrap in plastic, and chill for thirty minutes. Repeat this rolling, folding, and chilling process two more times. Each fold creates exponentially more layers – by the end, you’ll have created hundreds of buttery layers that will puff and separate in the oven.
For the filling, let your mascarpone come to room temperature until it’s soft and spreadable – this usually takes about an hour outside the refrigerator. In a medium bowl, combine the mascarpone with almond paste, working them together until smooth. The almond paste might resist at first, but persistence pays off. Add powdered sugar, egg yolk, vanilla, and almond extract, mixing until the filling is silky and unified. The aroma should be intoxicatingly almond-forward with undertones of rich cream.
After the final chill, roll your laminated dough into a large rectangle about ¼-inch thick. Using a sharp knife or pizza cutter, cut into squares approximately 4 inches each. The key is working quickly while the dough remains cold – warm dough leads to butter leakage and less defined layers. On each square, make diagonal cuts from each corner toward the center, stopping about an inch from the middle. This creates four triangular flaps that will become the Danish’s distinctive shape.
Place a generous spoonful of almond mascarpone filling in the center of each square. Fold alternating flaps over the filling to create a pinwheel or envelope shape, depending on your preference. The filling should peek through in places – this isn’t a time for perfectionism but rather for embracing the rustic beauty that makes homemade pastries so appealing.
Arrange your shaped Danish on parchment-lined baking sheets, leaving plenty of space between each one for expansion. Cover with a clean kitchen towel and let them rise in a warm spot for about 45 minutes until noticeably puffed and slightly jiggly when gently shaken.
Preheat your oven to 400°F during the final fifteen minutes of rising. Brush each Danish with egg wash until they glisten like golden promises, then sprinkle with sliced almonds and pearl sugar if using. The oven’s heat will transform these pale, puffy pastries into burnished beauties.
Bake for 15 to 18 minutes until the pastries are deep golden brown and the filling is set but still creamy. The kitchen will fill with an aroma so compelling that you might find family members materializing from distant corners of the house. Let them cool on the baking sheet for five minutes before transferring to a wire rack – this brief rest allows the filling to stabilize while keeping the pastry crisp.
Chef’s Notes
These Danish are best enjoyed within hours of baking when the contrast between crisp pastry and creamy filling is most pronounced. Store any leftovers covered at room temperature for up to two days, though they’re easily refreshed with a few minutes in a warm oven. The laminated dough can be prepared up to two days ahead and kept refrigerated, making morning pastries surprisingly achievable. For variation, try substituting the almond paste with apple butter or cream cheese mixed with lemon zest.
Serves: 8-10 pastries
Total Time: 5 hours (including chilling time) | Active Time: 2 hours