The first time I tasted this pie, I was eight years old at my grandmother’s kitchen table, sticky fingers wrapped around a fork that seemed too big for my small hands. Grandma Rose had just pulled it from her ancient Frigidaire, the filling still firm from its overnight chill, and the first bite transported me somewhere between a tropical vacation and the comfort of home. The tang of pineapple danced with the richness of cream cheese, while the buttery graham cracker crust provided the perfect textural counterpoint to the silky filling above. Years later, when I found her handwritten recipe card tucked between the pages of her worn church cookbook, the margins filled with her careful notes about “extra vanilla” and “don’t skip the lemon,” I knew I had discovered more than just ingredients and measurements. This pie became my connection to summer afternoons spent learning life lessons while measuring flour, to the woman who taught me that the best desserts aren’t just about sweetness, but about creating moments that linger long after the last crumb disappears.
This pineapple cream cheese pie represents everything I love about no-bake desserts: it’s elegant enough for company yet simple enough for a weeknight treat. The combination of tangy crushed pineapple and rich cream cheese creates a filling that’s both refreshing and indulgent, while the graham cracker crust adds just the right amount of sweetness and crunch. What makes this pie truly special is its ability to capture the essence of summer in every bite, whether you’re serving it at a backyard barbecue or bringing it to a potluck dinner where you want to make an impression.
Table of Contents
Ingredients
For the Crust:
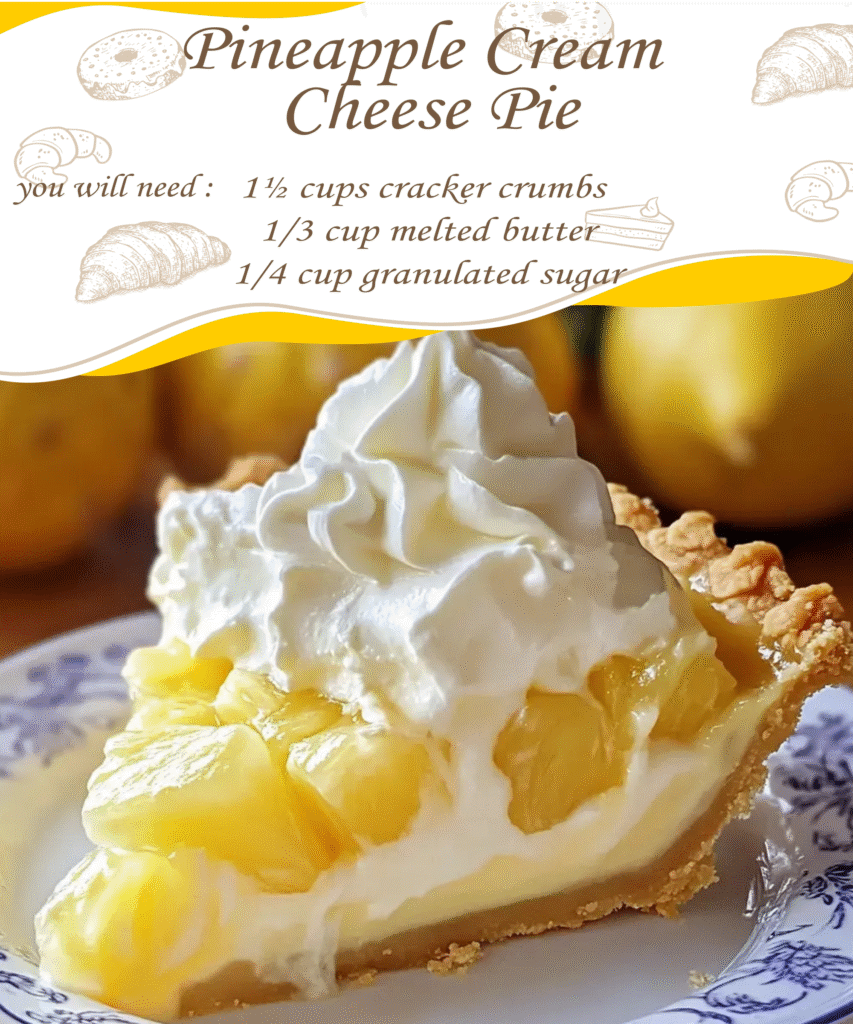
- 1½ cups graham cracker crumbs
- ⅓ cup melted butter
- ¼ cup granulated sugar
- Pinch of salt
For the Filling:
- 8 oz cream cheese, softened
- 1 cup powdered sugar
- 1 teaspoon vanilla extract
- ½ teaspoon fresh lemon juice
- 1 cup heavy whipping cream
- 1 can (20 oz) crushed pineapple, well-drained
- 2 tablespoons cornstarch
For Garnish:
- Toasted coconut flakes
- Fresh pineapple wedges
- Maraschino cherries
Instructions
Begin with the crust, because like any good foundation, it sets the stage for everything that follows. In a medium bowl, combine the graham cracker crumbs with melted butter, sugar, and that crucial pinch of salt. The mixture should feel like wet sand between your fingers, clumping together when pressed but still maintaining some texture. Press this mixture firmly into a 9-inch pie pan, working from the center outward and up the sides. Use the bottom of a measuring cup to create an even, compact surface. The crust should feel solid under gentle pressure, creating walls that will cradle your filling without crumbling. Refrigerate while you prepare the filling, giving it at least 30 minutes to set properly.
The filling begins with patience and the right temperature. Your cream cheese should be genuinely soft, not just room temperature, yielding easily to the back of a spoon without any lumps or resistance. In a large mixing bowl, beat the cream cheese until it’s completely smooth and airy, about two minutes with an electric mixer. This step cannot be rushed; lumps in your cream cheese will translate to an uneven texture in the finished pie. Gradually add the powdered sugar, beating continuously until the mixture becomes light and fluffy. The vanilla and lemon juice come next, transforming the base from merely sweet to complex and bright. The lemon juice serves as more than flavoring; it balances the richness and helps prevent the filling from becoming too heavy.
The pineapple requires special attention, and this is where many recipes falter. Drain the crushed pineapple thoroughly, pressing it gently in a fine-mesh strainer to remove excess moisture. Pat it dry with paper towels until no liquid remains. In a small bowl, toss the drained pineapple with cornstarch, ensuring each piece is lightly coated. This prevents the fruit from releasing moisture into your filling and creating a watery pie. The cornstarch acts as insurance, binding any remaining liquid and maintaining the filling’s structure.
In a separate bowl, whip the heavy cream to soft peaks. This takes about three to four minutes with an electric mixer, and you’ll know it’s ready when the cream holds its shape but still flows gently when you lift the beaters. The cream should feel light and airy, almost doubling in volume from its liquid state. Fold one-third of the whipped cream into the cream cheese mixture using a rubber spatula, cutting down through the center and folding over. This initial fold lightens the base, making it easier to incorporate the remaining cream without deflating it. Add the remaining whipped cream and the cornstarch-coated pineapple simultaneously, folding gently until just combined. The filling should be pale yellow, studded with golden pineapple pieces, and hold its shape when spooned.
Transfer the filling to your chilled crust, spreading it evenly with an offset spatula. The surface should be smooth but don’t worry about perfection; the pie will be beautiful regardless. Cover with plastic wrap, ensuring the wrap doesn’t touch the filling’s surface, and refrigerate for at least four hours, though overnight is preferable. During this time, the flavors meld and the filling firms to the perfect sliceable consistency.
Just before serving, add your garnishes with intention. Toasted coconut flakes provide textural contrast and enhance the tropical theme. Fresh pineapple wedges and maraschino cherries offer visual appeal and hint at the flavors within. Arrange them thoughtfully, remembering that we eat first with our eyes.
Chef’s Notes
This pie can be made up to two days ahead, making it perfect for entertaining. Store covered in the refrigerator and add garnishes just before serving. For a lighter version, substitute half the cream cheese with Greek yogurt, though the texture will be slightly less rich. If fresh pineapple is available, use it instead of canned, but ensure it’s very well-drained and not overly ripe, which can make the filling too sweet.
Serves: 8-10
Total Time: 4 hours 30 minutes (including chilling time)
Active Prep Time: 30 minutes