Last spring, I found myself on my hands and knees in my bathroom, staring at grout lines that had somehow transformed from their original pristine white to an embarrassing grayish-brown. It was one of those moments when you realize you’ve been living with gradual decline without noticing – like watching a sunset in reverse. My mother-in-law was visiting the following week, and suddenly these grout lines felt like a personal failing written across my tile floors.
I remember the frustration of trying store-bought cleaners that promised miracles but delivered disappointment. The harsh chemical smell would fill the room, my eyes would water, and the grout remained stubbornly discolored. It wasn’t until my neighbor Sarah shared her grandmother’s simple cleaning method that everything changed. Standing in my kitchen that afternoon, she described a technique so elegant in its simplicity that I wondered why I’d been making it so complicated.
That evening, I gathered the humble ingredients she’d mentioned and began what felt like an archaeological expedition through years of soap scum and mineral deposits. The transformation wasn’t just about cleaning – it was about reclaiming a space, restoring something that had been neglected back to its intended beauty. As I worked, I found an unexpected meditative quality in the process, a satisfaction that came from seeing immediate, tangible results from my efforts.
Table of Contents
A Simple Solution for Stubborn Stains
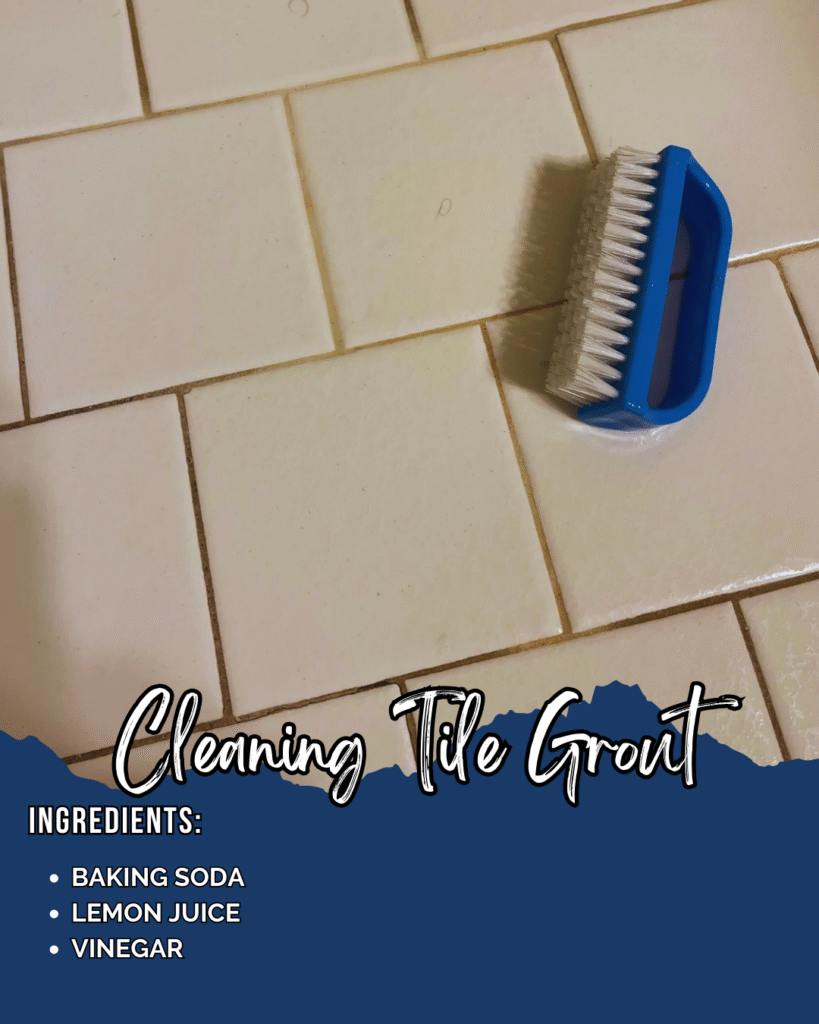
This grout cleaning method combines the gentle abrasive power of baking soda with the natural bleaching properties of white vinegar, creating a foaming action that lifts dirt and discoloration without harsh chemicals. What makes this approach special is its accessibility – you likely have everything you need already sitting in your pantry. The technique works beautifully on both floor and wall tiles, restoring grout lines to their original color while being gentle enough for regular maintenance cleaning.
Ingredients
For the cleaning paste:
- 1/2 cup baking soda
- 1/4 cup white vinegar
- 2 tablespoons warm water
Tools you’ll need:
- Old toothbrush or grout brush
- Clean microfiber cloths
- Small mixing bowl
- Rubber gloves
- Spray bottle filled with clean water
The Restoration Process
Begin by creating your cleaning paste in a small bowl. Measure the baking soda first – it should look like fresh snow, fine and powdery. When you add the vinegar, something wonderful happens: the mixture will bubble and fizz like a gentle science experiment. This effervescent reaction is exactly what you want – it means the ingredients are activating, creating the cleaning power that will penetrate deep into your grout lines. Add the warm water gradually, stirring until you achieve a consistency similar to thick toothpaste. The paste should hold together but remain spreadable.
Before you begin scrubbing, take a moment to examine your grout lines closely. Notice how the discoloration tends to be heaviest near the bottom of walls and in corners where moisture accumulates. These areas will need extra attention, but don’t be discouraged – even the most stubborn stains will yield to patient, consistent effort.
Apply the paste generously along the grout lines, working in sections about three feet at a time. I learned this the hard way – trying to cover too much area at once means the paste begins to dry before you can properly work it in. Use your finger to spread the mixture, ensuring it gets into all the crevices. The paste should sit like a thick frosting along each line, completely covering the discolored areas.
Now comes the satisfying part: the scrubbing. Using your toothbrush in small, circular motions, begin working the paste deeper into the grout. You’ll feel the slight resistance as the bristles encounter built-up grime, then notice how that resistance decreases as the cleaning action takes effect. The key is consistent pressure – not so hard that you damage the grout, but firm enough to dislodge the embedded dirt.
As you scrub, you’ll start to see the paste changing color, picking up the stains and discoloration. This is your visual confirmation that the method is working. The transformation isn’t always immediate – some areas might need a second application – but you’ll notice improvement with each pass.
Listen for the subtle sound changes as you work. Initially, the brush against dirty grout creates a slightly gritty sound, but as the surface becomes cleaner, the sound becomes smoother. Your nose will also guide you – the sharp, clean scent of vinegar will become more pronounced as the paste activates and begins lifting away musty, stale odors trapped in the grout.
After scrubbing each section thoroughly, let the paste sit for an additional ten to fifteen minutes. This resting period allows the cleaning agents to continue working on deeper stains. During this time, you might notice the paste darkening further as it continues to draw out embedded dirt.
The removal process is just as important as the application. Using your spray bottle, mist the treated grout lines with clean water, then wipe away the paste with a damp microfiber cloth. Work systematically, ensuring you remove all residue. You’ll be amazed at how much discoloration comes away with the paste – it’s like watching years of neglect disappear in moments.
For particularly stubborn areas, don’t hesitate to repeat the process. Some grout lines, especially those in high-moisture areas, may have years of buildup that requires patience and persistence. I’ve found that the second application often works faster than the first, as if you’ve already weakened the stains’ grip.
After cleaning, rinse the entire area thoroughly with clean water and dry with a fresh microfiber cloth. This final step prevents any cleaning residue from creating its own buildup and allows you to see the full extent of your transformation.
Chef’s Notes
Store any leftover baking soda and vinegar separately – mixed together, they lose their cleaning power over time. For maintenance, repeat this process every few months to prevent heavy buildup. If your grout is particularly old or damaged, consider applying a grout sealer after cleaning to protect against future stains. The best time for this deep cleaning is during dry weather when you can ensure proper ventilation and quick drying.
Time Required: 30-45 minutes per average bathroom
Coverage: Treats approximately 100 square feet of tiled surface